
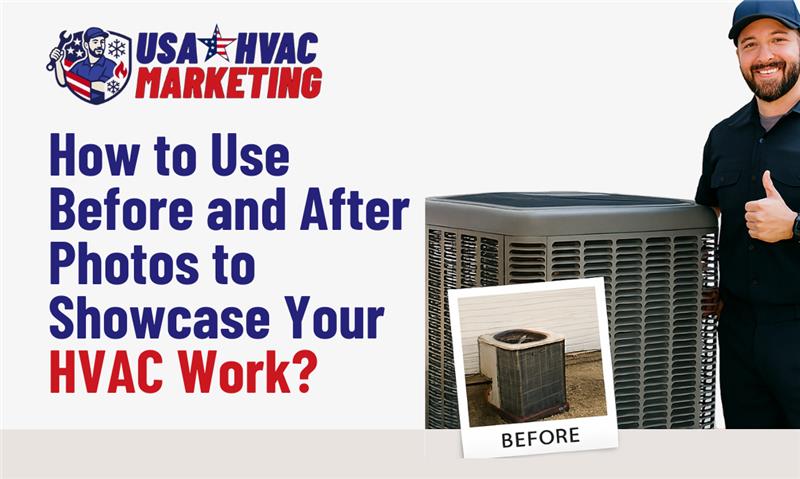
Using before and after photos is a straightforward way to demonstrate the quality of your HVAC work. The core idea is to create a clear visual story that shows a problem and its solution. Effective photos focus on the transformation, highlighting improved safety, cleanliness, and the craftsmanship of the installation. For example, a “before” picture might show a disorganized mess of wires and a rusted drain pan, while the “after” picture displays a clean, new unit with neat wiring and proper drainage. This visual proof builds immediate trust with potential customers, often more effectively than a written description.
This guide provides a practical approach to taking and using these photos to build your company’s reputation. When integrated into your HVAC website design, these images not only enhance credibility but also turn everyday projects into powerful marketing assets. The information is based on real-world application in the HVAC industry, designed to help contractors transform their daily work into a long-term business growth strategy.
Setting the Stage for the Perfect “Before” Shot
The “before” photo serves as the foundation of your story. Its job is to accurately capture the issues the homeowner was facing. Before any work begins, document the scene as it is. Focus on the details that make a professional replacement or repair necessary.
Key elements to capture include:
- Obvious Safety Hazards: Look for frayed wiring, scorch marks, blocked flue pipes, or gas line issues.
- Signs of Neglect or Failure: Photograph excessive rust, water leaks, dirty filters, and clogged condensate drains.
- Poor Installation Quality: Document messy ductwork, tangled refrigerant lines, and equipment that is not level.
- Inefficiency: Capture dirt-caked outdoor coils or dusty, clogged indoor coils that clearly restrict airflow.
Bonus Tip: Start with a wide shot of the entire work area, whether it’s an attic, closet, or basement. This provides context. Then, move in closer to take detailed shots of the specific problems. This combination of a wide view and close-ups tells a more complete story.
Capturing the “After” Photo That Tells a Story
The “after” photo is your proof of a job well done. It should display professionalism and attention to detail. This image isn’t just about showing off the new equipment; it’s about showcasing the quality of the installation. A study from MIT found that the human brain can process images it sees for as little as 13 milliseconds source, so a clean, organized “after” shot makes an instant positive impression.
When taking the “after” photo, try to use the same angle as the “before” shot. This creates a direct and powerful comparison. Clean the area around the equipment completely, removing old parts, dust, and debris. Your photo should highlight neat wiring secured properly, straight and insulated refrigerant lines, and perfectly sealed duct connections. The overall image should communicate safety, efficiency, and order.
What to Showcase in Your HVAC Photos
Different jobs offer different opportunities for compelling visuals. A full system replacement has a dramatic effect, but even a simple cleaning or repair can be shown effectively. The goal is to make the invisible benefits of your work, like improved air quality and energy efficiency, visible to the customer.
Here’s a breakdown of what to focus on for various types of HVAC jobs:
| Type of Job | “Before” Photo Focus | “After” Photo Focus | Why It Matters to Homeowners |
|---|---|---|---|
| Full System Replacement | Old, inefficient unit; messy wiring; rust or leaks | New, clean unit; organized lines; proper drainage | Demonstrates safety, efficiency, and professionalism. |
| Ductwork Repair/Sealing | Leaky joints with dust streaks; tangled or crushed ducts | Tightly sealed seams; properly supported runs | Shows improved air quality and energy savings. |
| Condenser Coil Cleaning | Coil covered in dirt, grass, and cottonwood debris | Sparkling clean coil with straight aluminum fins | Gives visual proof of restored efficiency and cooling power. |
| Thermostat Upgrade | Old, mercury-based or basic digital thermostat | Modern smart thermostat, installed level and clean | Highlights new technology, convenience, and control. |
Things to Consider Before Posting Your Photos
Once you have great photos, there are a few important steps to take before sharing them publicly. These considerations protect both your business and your customer while making sure your photos have the greatest impact.
Get Homeowner Permission
Always get the customer’s permission before using photos of their home or equipment. A simple clause in your work agreement or a separate release form is a good idea. Explain where you plan to use the photos, such as on your website gallery or social media pages. Transparency is key to maintaining a good customer relationship.
Brand Your Images Subtly
Add a small, clean logo or watermark to a corner of your photos. This helps protect your images from being used by competitors and consistently reinforces your brand identity wherever the photo is shared. Avoid large, distracting watermarks that cover the work itself.
Provide Explanatory Captions
A photo is powerful, but a photo with context is even better. When you post an image, write a brief caption explaining the situation. For example: “Before: A 20-year-old system with a failing compressor. After: A new high-efficiency heat pump installation that will lower the homeowner’s energy bills by an estimated 30%.” This connects the visual evidence to real-world benefits.
Visual proof functions much like a positive customer review. According to research by BrightLocal, 98% of consumers use the internet to find information on local businesses source, and your photos serve as direct evidence of your work quality.
Where to Use Your Before and After Photos
Your library of photos is a versatile asset that can be used across many marketing channels.
- Website Portfolio: A dedicated gallery on your website is the perfect place to permanently house your best work. Organize it by project type (e.g., furnace installs, AC repairs) so potential customers can easily find relevant examples.
- Social Media: Platforms like Facebook and Instagram are ideal for visual content. Post your photos regularly to engage your followers and showcase ongoing projects.
- In-Home Sales Presentations: During a sales call, use a tablet to show potential customers examples of similar jobs. This helps them visualize the outcome and builds confidence in your ability to deliver.
Bonus Tip: Use a free app to create short video slideshows of your photos. Add simple text overlays to explain each step of the project. Videos often receive more attention on social media and can tell a more dynamic story than a single image.
Putting Visuals to Work
Before and after photos are a simple yet effective tool for any HVAC business. They provide undeniable proof of your skills and dedication to quality. By consistently encouraging your team to document their work, you can build a rich visual library that serves as a testament to your craftsmanship and becomes a cornerstone of your marketing efforts.
Get a Clear Picture of Your Marketing Strategy
Integrating compelling visual content is just one part of a successful marketing plan. If you’re ready to show more customers the quality of your work, the team at USA HVAC Marketing can help. Contact us for a consultation to see how a tailored strategy can grow your business. You can reach us at [email protected] or by calling (315) 907-5444 to discuss your company’s needs and goals.
Technical Questions About HVAC Photography
What kind of camera should I use?
A camera on a modern smartphone is more than capable of taking high-quality photos for marketing. The key is not the camera itself but how you use it. Focus on good lighting, steady hands, and clear composition.
Should I edit the photos?
Minor edits are acceptable. Adjusting brightness, contrast, or cropping the photo to focus on the subject is fine. Avoid using heavy filters or making changes that misrepresent the actual work. Authenticity is the goal.
What if the “before” shot is in a dark, cramped space?
Good lighting is essential. Use a bright work light or a powerful flashlight held off to the side to illuminate the area. Try to avoid using the direct, harsh flash on your phone, as it can create glare and dark shadows.
Logistical Questions and Best Practices
Do I need a professional photographer?
No, hiring a professional photographer is not necessary. Your technicians are on-site and can be easily trained to take effective photos. Provide them with a simple checklist: get a wide shot, get close-ups of the problem, and take the same shots after the work is complete and the area is clean.
How do I handle photos that might show the homeowner’s personal items?
Frame your shots tightly on the HVAC equipment to avoid capturing personal belongings in the background. If something is unavoidable, you can use a simple photo editing app to blur that part of the image before posting.
Is it better to show one picture or a collage?
Side-by-side collages are extremely effective because they allow for immediate comparison. Many free mobile apps and social media tools can create these collages in seconds.
Sources
- MIT News – An article explaining MIT research on the speed of human image processing, supporting the claim that visual content makes a rapid impact.
- BrightLocal – The Local Consumer Review Survey 2023 provides data on how consumers find and evaluate local businesses, highlighting the importance of online reputation and proof of quality.